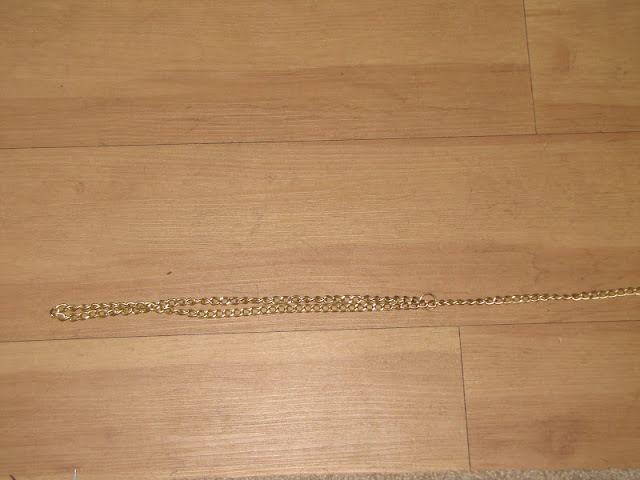
First: Measure around your head where you want it to rest. Grip onto the chain link that you want it to stop at, and add your split ring to it. Use the tweezers to pry it open.
Keeping the split ring open, loop the other end of the chain through so you get a perfect circle with a tail like so:
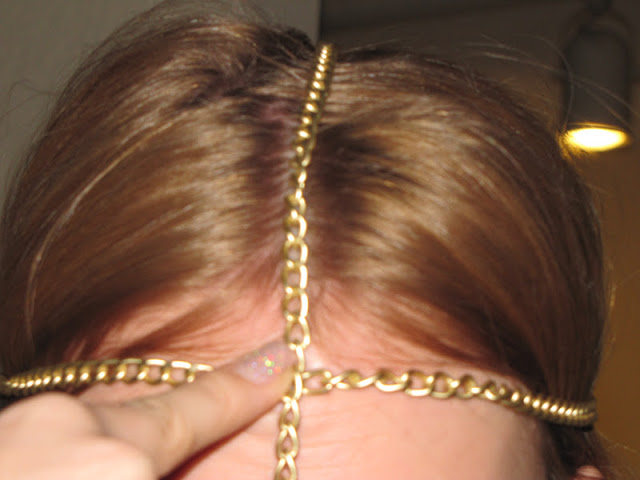
Next: Place it on your head with the tail facing the back. Pull the tail over the top of your head and mark with your finger the link where you want it to end.
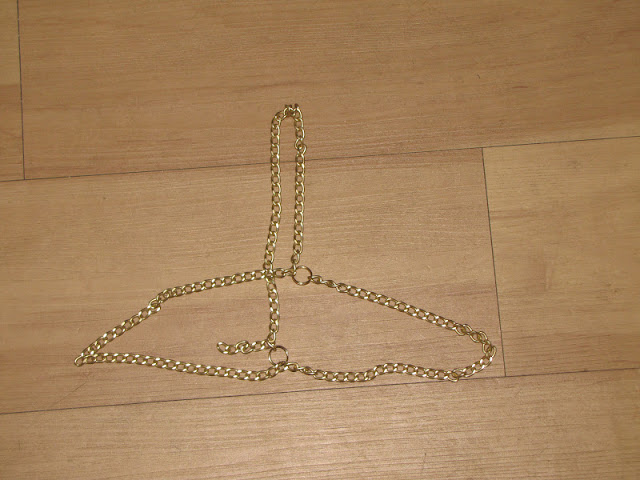
Tip: It’s easier to lay it out flat so you can easily pick the center of the circle where the tail is going to connect.
Add another split ring to connect the tail to the center of the circle.
You will likely have extra slack. This is easily snapped off with a strong pair of scissors and a strong boyfriend. 😉
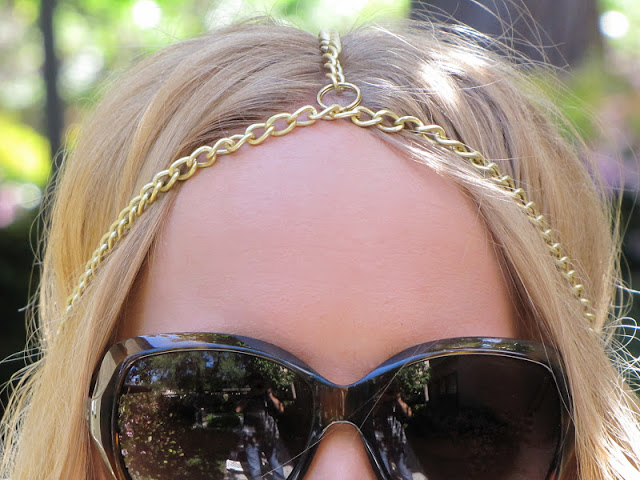
Last, wear your masterpiece with pride.
-Chain, $3.99 Michael’s
-Split rings on clearance $0.99 Michael’s
-30% off total purchase coupon from Sunday paper








Cute!
that came out really good and you certainly cant beat the price of yours.
i need to do this! yours looks so good, nice job!
I'm obsessed w Nicole richi in general. I love everything about her style! I can't believe how amazing yours turned out!! Looks so good! I love your blog title, very cute! New follower!
Xx Kelly
So cute!!!!! Love how yours turned out, and ohhhhhh that price!! You can't beat that! 🙂
I can't believe the retail price was $205! As soon as I saw that and scrolled down to your DIY, I was like, "Whew!"
3.50 is a great price 🙂
Wida
Missing Amsie Blog
Okay, err I bought one of these from topshop last week and now i shall be returning because I am going to be making my own!!! really great tutorial, looks nice in your hair, you look like an egyption goddess XXX
okay, first off, i absolutely adore nicole richie. she is beyond perfect. her line is even better! and your DIY version is gorgeous! i love it girl!!!
xo TJ
great photos! I would love it if we followed each other. I'll be following you through GFC!
FashionSpot.ro
what a cool post! you really made this look incredible. and i love your blog. definitely following. thanks for stopping by mine as well. hope you have an amazing day!
xo, nikki
http://www.carryoncouture.com
CUTE DIY! i am still not sure i could pull it off, but may have to try it anyway!
cute blog girl
xx, ashlyn
http://www.letitbebeautiful.com
Oh my gosh. Youre so creative and handy! Great job!
what a great DIY–i love the concept of your blog!
GREAT photos, girl! I'm new here and I LOVE the look and feel of your site so far! Off to check out some more posts. Have a wonderful week! xo
Such a cute DIY! Love your hair!!
Sarah
smalltowncatwalk.blogspot.ca
Looks great on you!!
Could you please check my blog out?
ohyeahkeepcalm.blogspot.com
xxx
Marga
this so cool – i love it! you are so creative! 🙂
xoamy
http://www.cupcakesncouture.com
I soooo need to make this!
xoxo,
Nikki at http://www.bedazzlesafterdark.com
jordan shoes
fitflops shoes
kate spade outlet
new balance shoes
cheap jordans
coach outlet online
coach outlet online
vans outlet store
stephen curry basketball shoes
air jordan shoes
polo ralph lauren
abercrombie & fitch
true religion outlet
nmd adidas
fitflops
adidas superstars
michael kors outlet stores
coach factory outlet online
instyler max
coach purses on sale
ralph lauren
jordan pas cher
valentino bags
fitflops sale clearance
valentino
michael kors outlet
coach outlet store
yeezy boost 350 white
armani outlet
cheap ray bans
rolex submariner
coach outlet online
versace sunglasses wholesale
gucci borse
oakley sunglasses outlet
micahel kors
coach outlet online
fitflops
ghd hair dryer
ferragamo outlet
chenzhen20160428