While I was in England my sorority Big Sis and one of my best friends in the whole wide world had her birthday. I wasn’t there to celebrate but I knew I owed her a good sentimental gift! I had seen these DIY coasters all over Pinterest, but they were done with scrapbook paper. The scrapbook paper is still really adorable but makes kind of an awk gift… “hai here are dese coasters i made wif scrapook paper. enjoi…”
I figured if you can modge podge scrapbook paper, you can surely modge podge photographs. Kaitlyn (the big sis) and I LOVE pictures. We love to take them, we love to be in them, but most importantly we love to have them ALL over our living spaces. They are moments captured in time. I knew I had to display some memories. (We’ve had TOO many good ones to count.)
You will need:
- 4 – 4×4 tiles. (I got black, because I think it looks more sleek and less like a tile with a photo modge podged to it.)
- Modge Podge (If you don’t have this…invest in some. Every crafter’s dream.)
- Modge Podge Clear acrylic sealer
- Sponge Brush or paintbrush (either will work)
- Felt with sticky backing
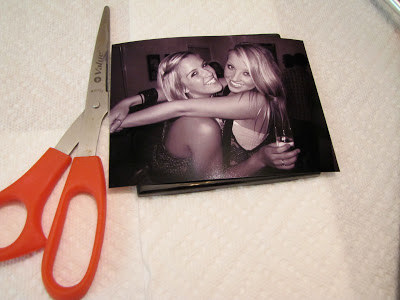
- Photos

Then you will want to cut out squares of felt to fit the bottom half of your tile (this way the coasters don’t scratch whatever table they are used on). FYI: I learned the hard way that you have to use the felt with the sticky backing. I thought I’d go cheapest and buy felt and super glue it on, but no way Jose. That sucker would NOT stick. So save yourself some time and use the sticky back felt.
Press the felt down to make sure it sticks.
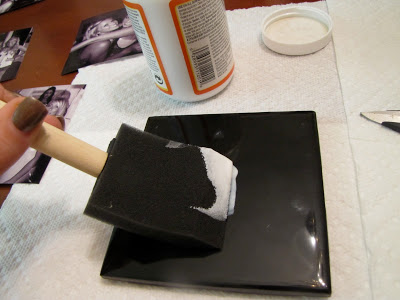
Then you will want to spread modge podge onto the front of the tile with your brush. make sure you cover the WHOLE tile. It dries clear, so even if the photo doesn’t cover the part you modge-podged, it will look fine.
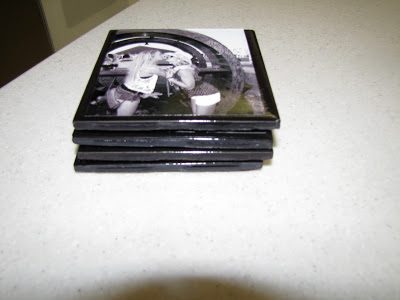
Next, place the photos onto the tile, and wait for it to dry. Once it is dry, you can add the acrylic sealant. (Tip: Do this outside, the fumes are potent and the spray is WAY too messy to try it indoors). I did THREE coats of sealant to be safe, but you will probably be fine with 2. Make sure you wait 15 minutes between each coat so it doesn’t bubble up.
Wait to dry, and voila! You have the perfect gift for anyone, and any occasion :). I’m tempted to make some for myself!
xoxo,
Hannah


They look so good!! Cute idea!!
Wow this is seriously cool….absolutely making this soon!
Thanks Sam! 🙂 And thank you Janna! 🙂
great idea! These would make great xmas gifts.
Maria @ Orchard Bloom
I love this!!! What a great idea!! So making these soon!!
These look very nice. I may have to make some for Christmas gifts! Thank you for sharing!
Wow they are so pretty. Can you get modge podge in the uk?