Hey everyone, I am so excited to share this guest post with you all. Lea and I actually went to the same college but never met in person and the forces aligned (along with our mutual love for DIY) that allowed me to share her talent with you all! I hope you all give her some love on her blog AND etsy shop!
*************************
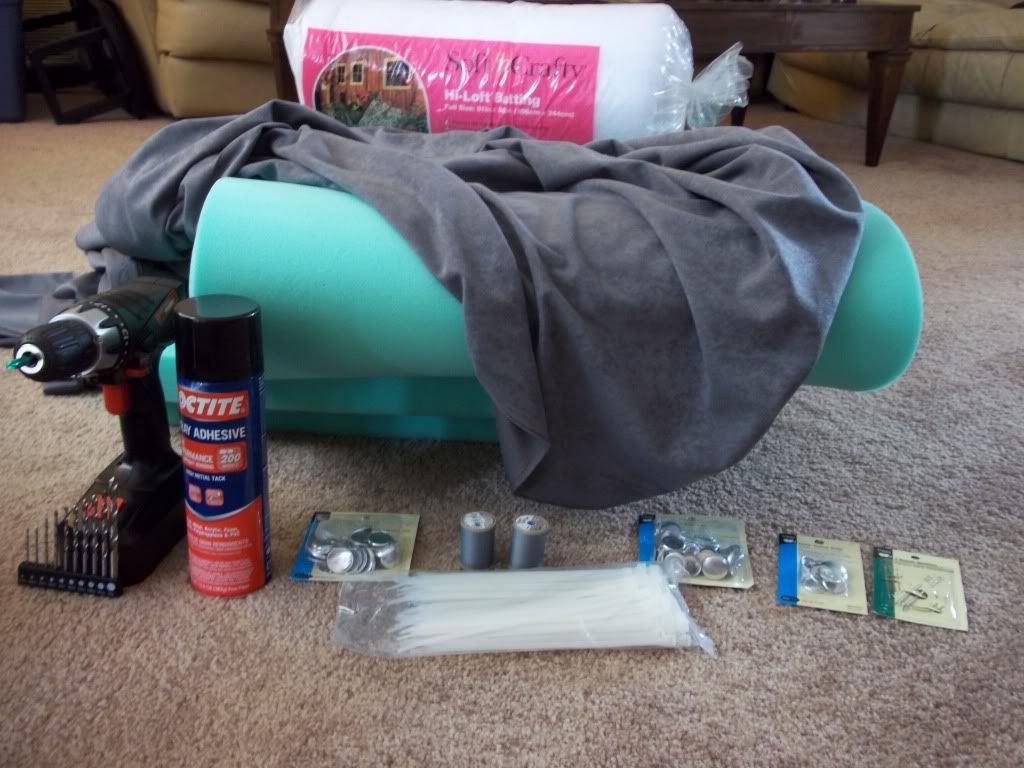
Hey guys I’m Lea from www.moderndaydauphine.blogspot.com and Let me start by saying I absolutely love this blog and it was a huge inspiration in making this headboard. As a college student myself, saving money is a huge concern and as a result I’ve learned to DIY nearly anything so when a friend called me up and asked me if I could make her a headboard I was up for the challenge! Step one was buying all the supplies. Here’s what you’ll need:
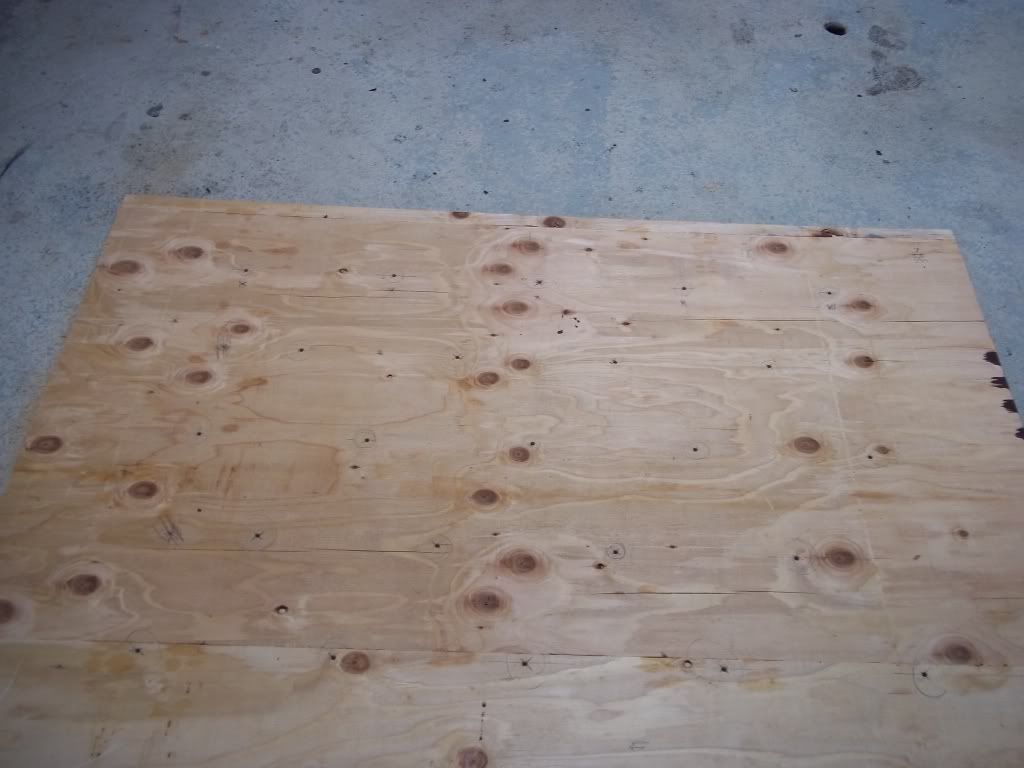
3/4 inch plywood cut to the size and shape you’d like your headboard
enough 3 inch foam to cover your board completely
batting
fabric (enough to cover your headboard and make buttons)
a button making kit (available at any craft store)
upholstery thread
upholstery needles long enough to fit through the wood and foam
spray adhesive
zip ties (a great tip I got from www.schuelove.com
a staple gun
a drill
First things first you’ll need to measure and drill your holes. These are the spots where your buttons will hold the fabric in place. I did rows of 5 and 4.
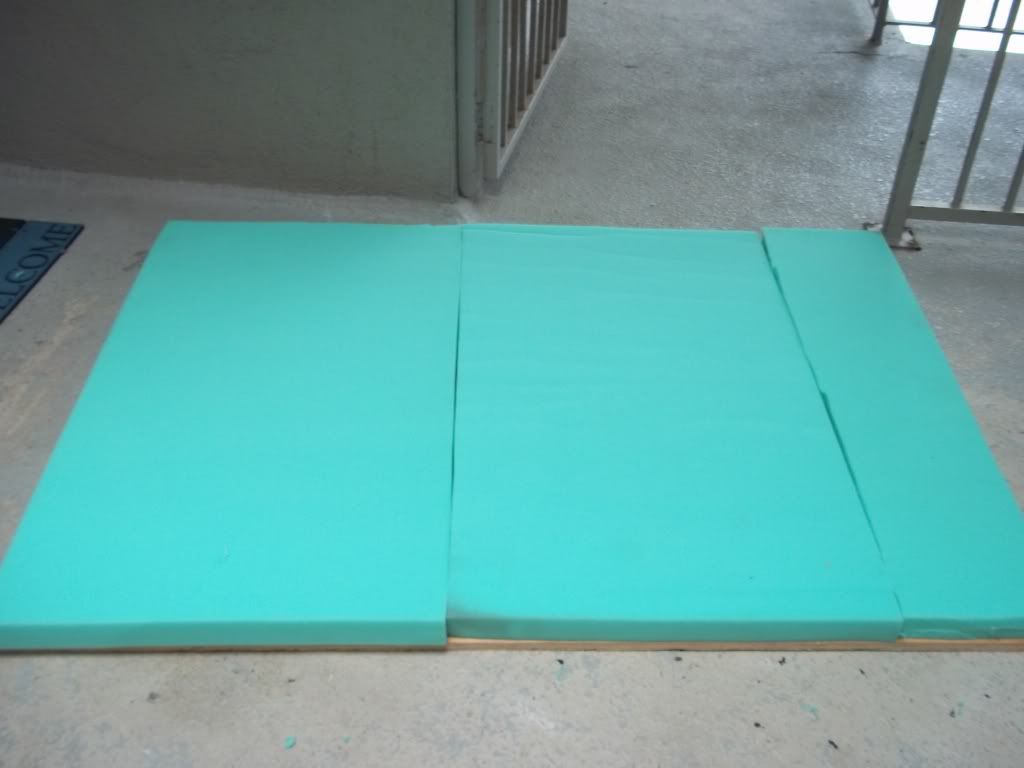
The next step is to cut the foam to the size of your headboard and use your spray adhesive to glue it down.
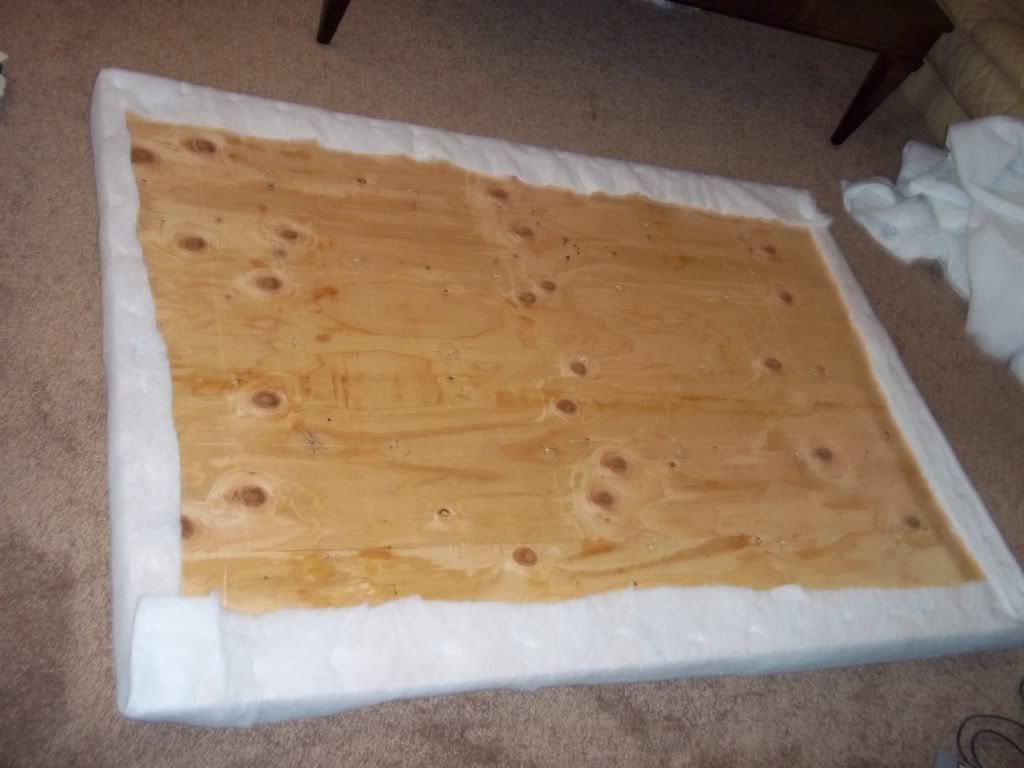
Next you want to lay out your batting and place your head board foam side down on top of it. Cut your batting so that it can reach the back of your board, pull tight and staple it to the back.
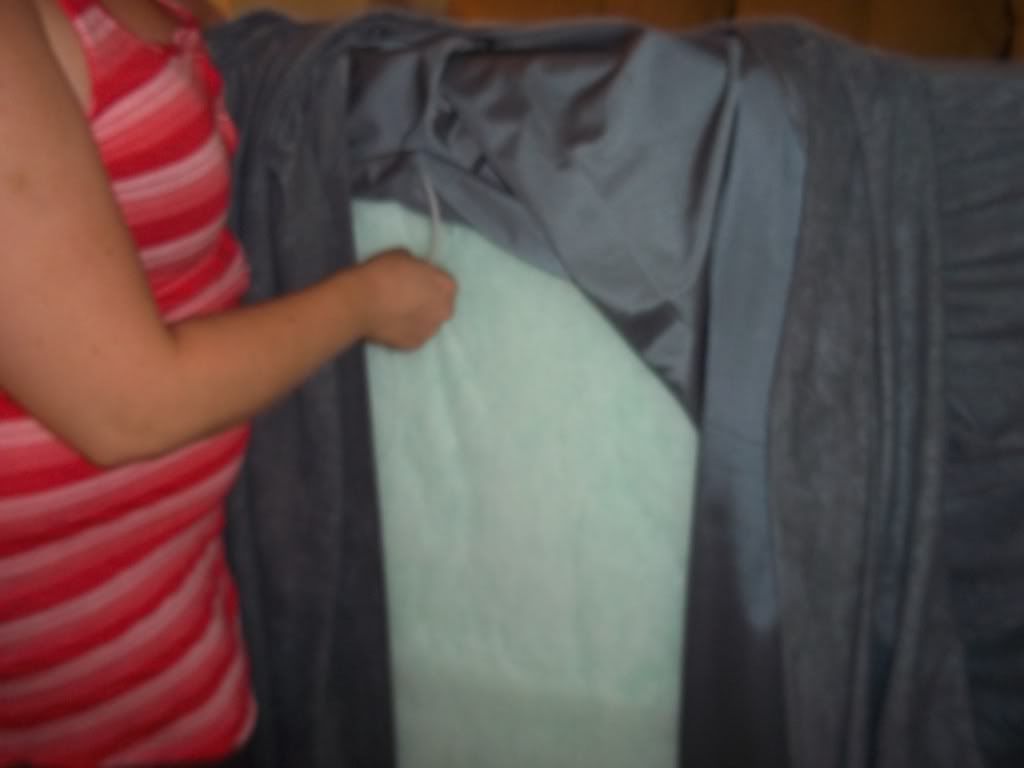
The next step is to follow the instructions on your button making kit and cover your buttons with your fabric. This is pretty simple and mindless but does take a while so if you can get someone to help you with this while you’re doing the first steps. Now is where it gets tricky. Stand up your head board, take a drill bit one size smaller then the one you used to drill the hole and use it to push through the foam from the wood and make a hole. Now drape your fabric over the head board and take your embroidery needles and come from the wood side, through the hole and poke a hole in your fabric. Take one of your buttons and use your embroidery thread to tie it to the eye of a zip tie. Now pull the end of the zip tie through the fabric, the whole in the foam and the wood.
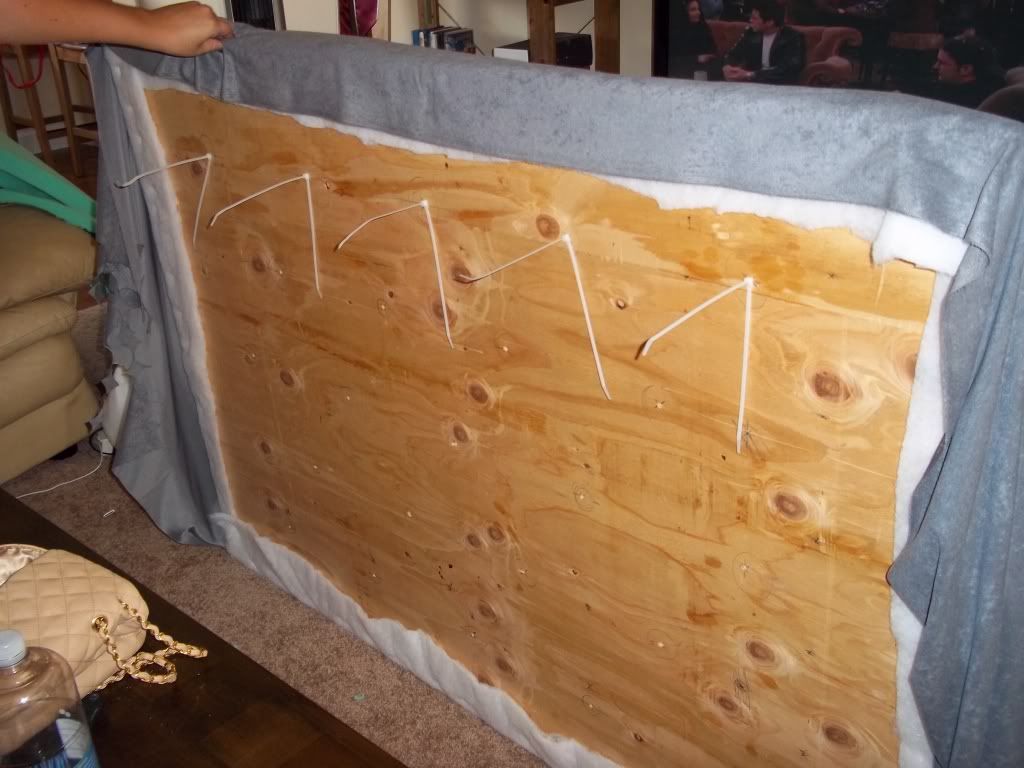
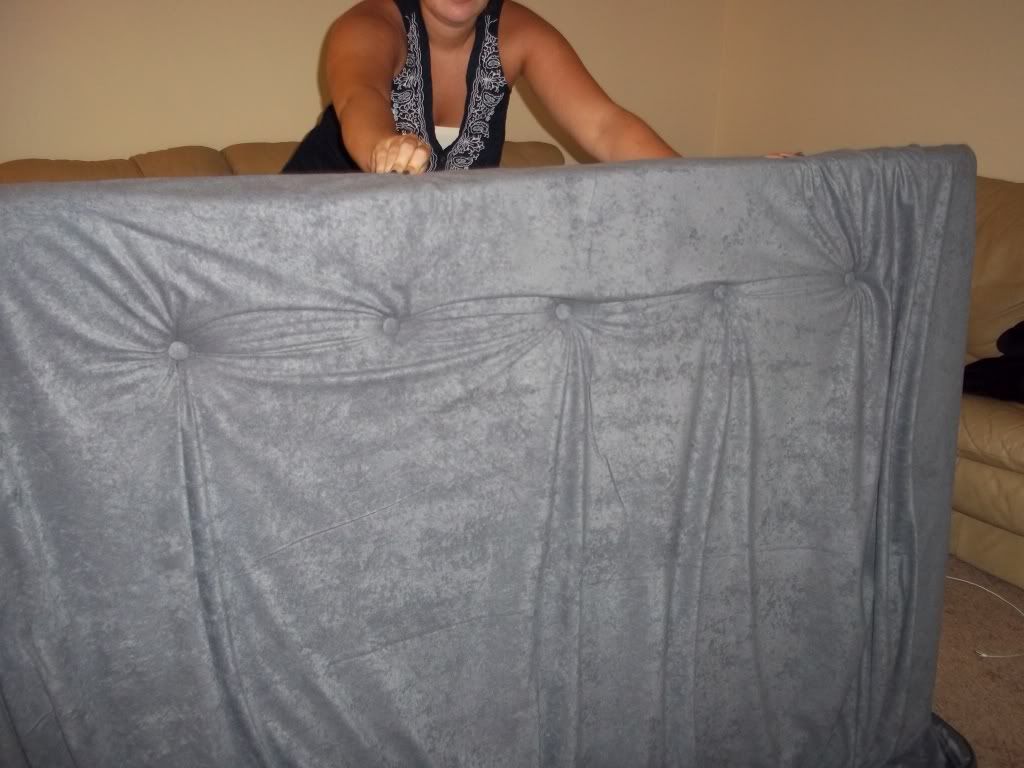
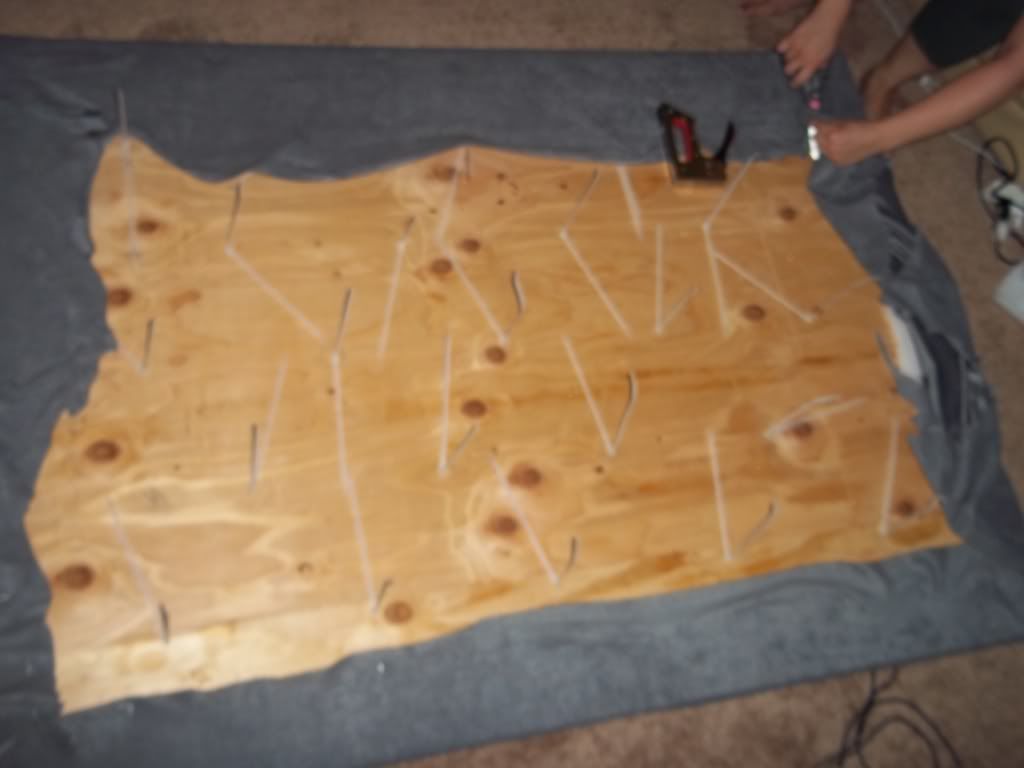
Now take a second zip tie and thread the first through the eye of the second with the fabric, batting, foam and wood between it. Play with the fabric so it pulls evenly and then tighten the zip tie as tight as you can. When the first row is done the back will look like this:
And the back will look like this:
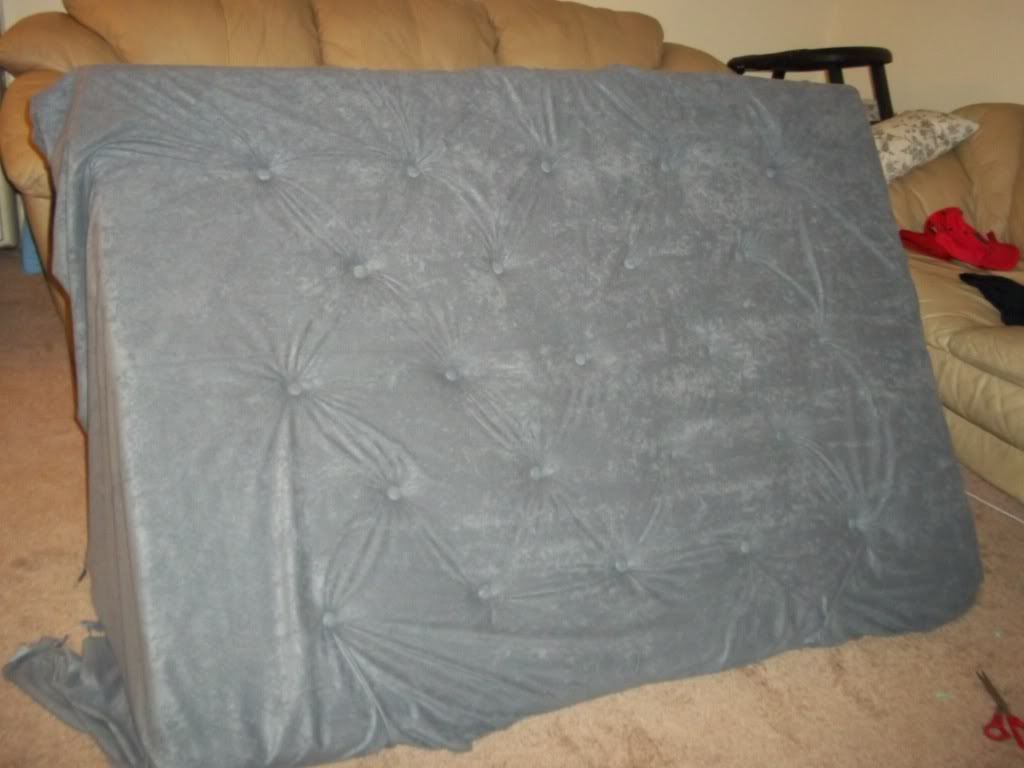
Repeat that through every hole and you’ll get something that looks like this:
Now the last step, pull the fabric tight and staple it to the back the same way you did with the batting.
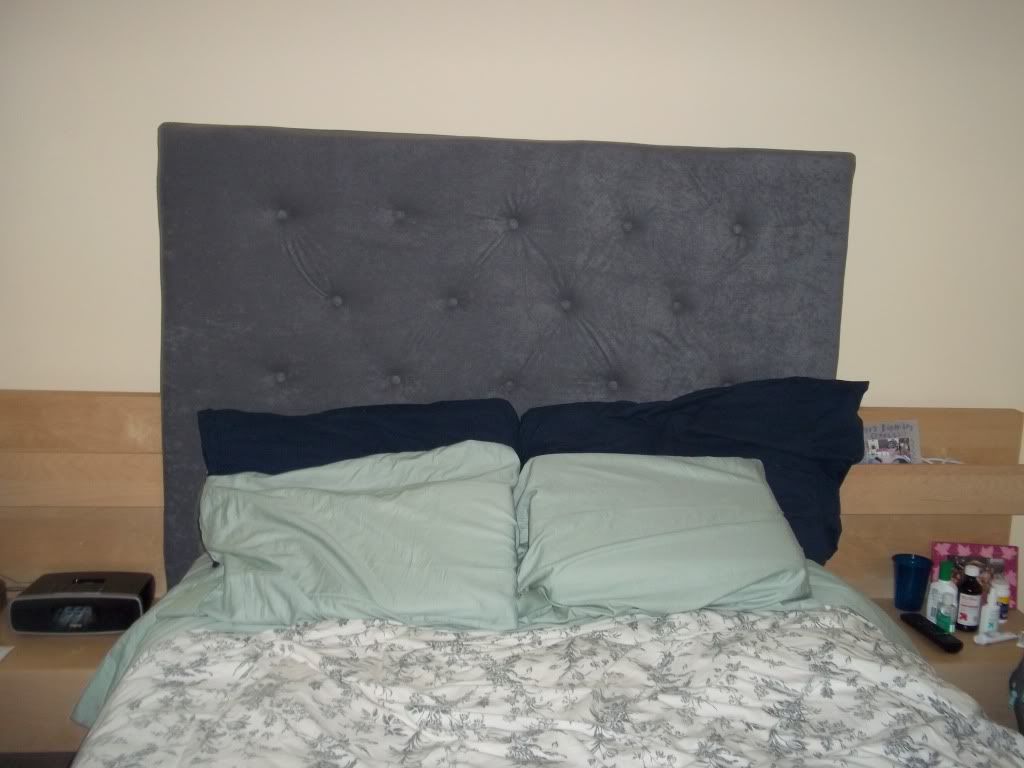
Now you have your headboard!
It may seem like an overwhelming project but all in all it was fairly simple. With shopping for supplies and assembling the entire board the whole project took about nine hours. I hope you found this helpful! If you like it make sure to check me out at my blog mentioned above or at www.etsy.com/shop/moderndaydauphine
******************
Thanks again Lea! I can’t wait to try this project myself! You make it look so easy!
xoxo,
H


this has been on my to-do list for years. its such a fun project and looks great!!
Love this! I made a headboard a few years ago out of art canvases.
xo Ashley
http://www.ashnfashn.com
You make this seem so easy!!
Great DIY post. Coming over from Sam's place. Nice to meet you.
Ive always wanted to do this and you made it seem so much more simple and manageable than any other site Ive seen. Might just have to spend the weekend working on it!
i would love a headboard this like for our bed. yours turned out great! how long did it take you?
that looks great! It really does make it seem easy!! =)
xo,
nancy
http://adoretoadorn.blogspot.com
That looks great! I've been wanting to do this forever.
This is an awesome DIY! the headboard came out perfect!
http://www.pinsneedlesfashion.blogspot.com
that is a great breakdown of steps. Great result.
love your blog and what a fun blog name! this is a great diy project! New follower
XO Meghan
citrusrefreshingfashion.blogspot.com
A quick tip for cutting the foam: Never forcefully compress the foam and try to cut through in one slice – you'll wind up with jagged, sloppy edges. That may not seem like an issue if you're upholstering over the foam sheet, but if you're using multiple pieces like in this tutorial, the seam where they meet won't have the same resilient padding and feel because the pieces don't meet flush.